Your cart is currently empty!
Bingo Granny Free Pattern Add-On

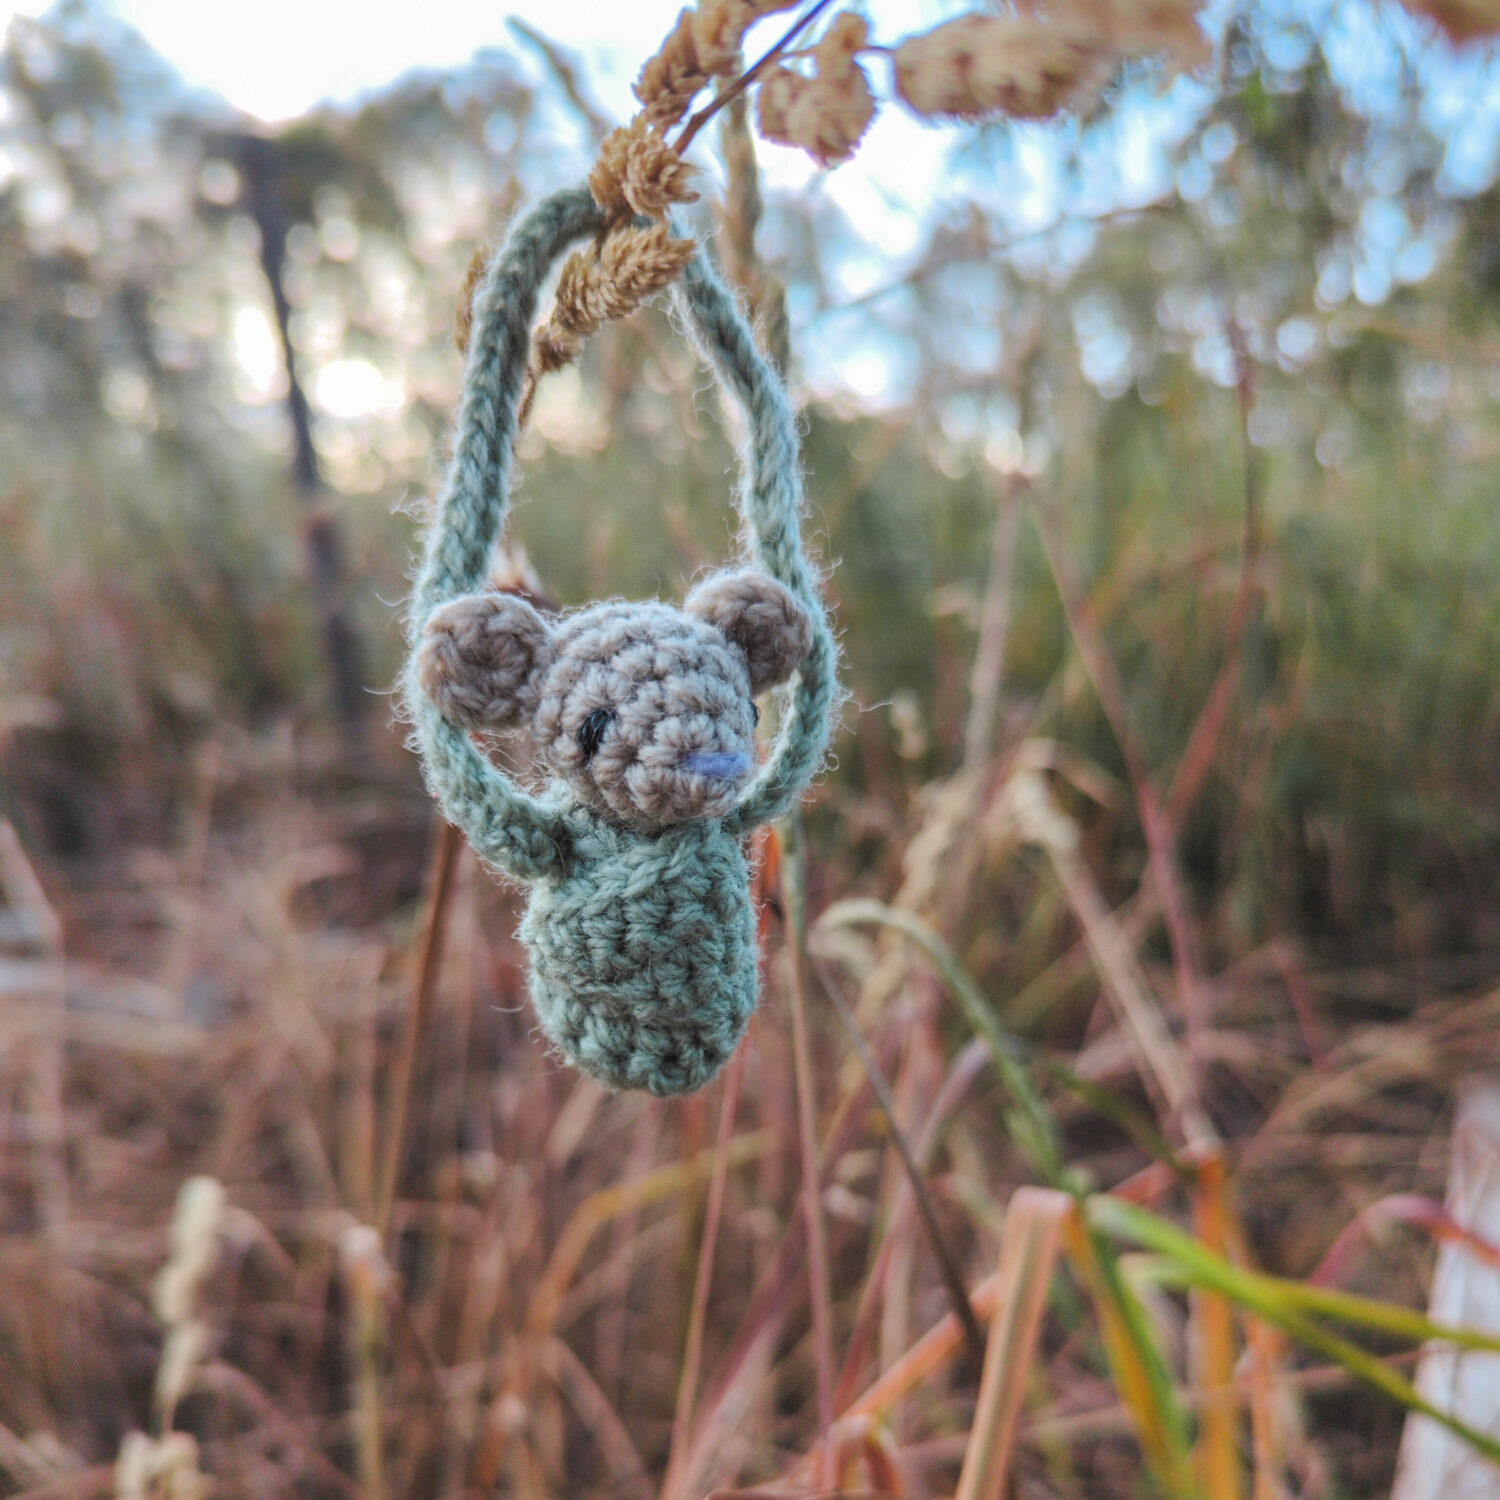
I’m so excited to share this granny add-on for my Bingo Bluey-Inspired crochet pattern, and hope you love it as much as I do!
First things first, you’ll need the base pattern which you can find here if you don’t already have it: Bingo Pattern
Materials
- Yarn – The pattern is made for DK weight yarn, but being amigurumi, gauge isn’t super important, and you can easily switch it out for a different weight. Just make sure all the yarn used is the same weight (including the yarn you use for the base Bingo pattern) and it should still work.
- Colour A: Main blanket colour
- Colour B: Blanket trim colour (at the bottom)
- 2.75mm crochet hook to keep the stitches nice and tight. Depending on your yarn you may need to go up or down sizes to match (again, just use the same as for the Bingo base)
- Marker to keep track of rounds (I use an extra little piece of yarn)
- Yarn needle (or smaller if you prefer to attach pieces with thread), scissors, general etc.
Notes
- You’ll need to make and assemble the Bingo pattern body, nose, tail, and legs to begin with. Feel free to skip the colour changes for Bingo’s back and stomach — you won’t see those! No need to create the arms and ears for this version as they won’t fit under the blanket.
- This pattern is primarily made in the round and in both loops, though there is a section where you work back to front instead.
- Important RE Colour Changes! This is not written into every line of the pattern, but it is assumed: any time there is a colour change, the stitch before the colour change transitions into it by pulling the new colour through the two loops on the hook at the end of the stitch. The next stitch will then use the new colour.
- Unlike my patterns for sale, this one hasn’t been professionally tested. If you find anything that’s not quite right, please let me know!
The Blanket/Granny Pattern
In sections of the pattern that are turned, the additional ch1 at the end of the round is not counted in the stitch totals
R1. In Colour A: mc6 ( 6 )
R2. inc6 ( 12 )
R3. [ inc1 sc1 ] x6 ( 18 )
R4. sc18 ( 18 )
R5. sc18, ch1, turn ( 18 )
now working back to front instead of in the round
R6. – R10. sc14, ch1, turn ( 14 )
 R11. sc14, ch6, slst into the next stitch across the gap: this is the new row start (depending on stuffing the ch6 may not reach or be too many – feel free to adjust to suit your Bingo, but keep in mind that the following stitch counts will need to be adjusted as well. Check to make sure Bingo fits in (a bit of a squeeze is all right) before continuing! Feel free to adjust the ch count if needed. ( 20 )
R12. – R14. sc20 ( 20 )
R15. sc6, Color B: slst, sc13. Leave a long tail of colour A before cutting that yarn off. ( 20 )
R16. sc20 ( 20 )
R17. sc6, slst, F/O and weave in end.
Using the Colour A tail, stitch the blanket to the body roughly around where the blanket meets up again under the chin (~row 11-12), as well as around the face so the blanket can’t be pulled back to reveal she has no ears!
All Done!
Take a picture of your creation looking super cute, and send it via email to HelloLittleSealDesigns@gmail.com or on Instagram by tagging @littlesealdesigns and using the hashtag #littlesealdesigns for a chance to be featured ( with credit, of course! ) in our gallery.


Leave a Reply